Bypass Telldus Live in Home Assistant

If you’re like me and using a TellStick in your Home Assistant setup to control 433 MHz (aka Nexa) and Z-Wave devices, you have probably faced the same issue as me with Telldus Live (the default platform to control this kind of devices).

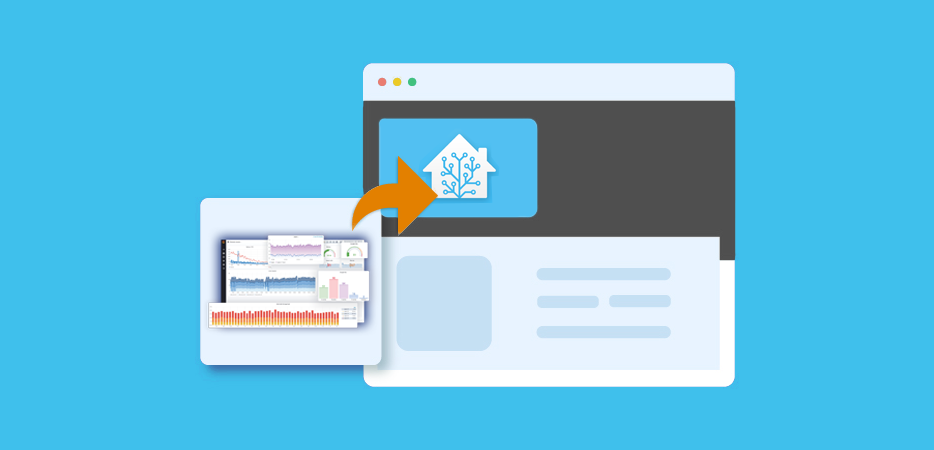
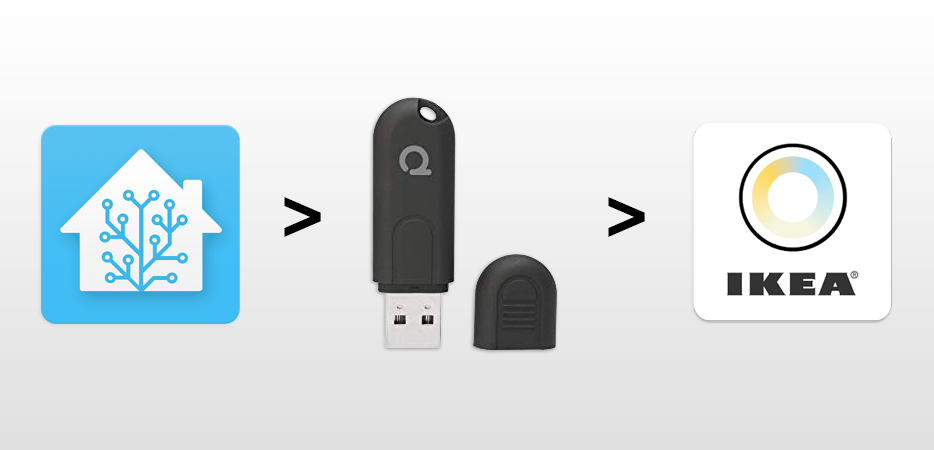
In a Home Assistant setup, Telldus Live is used as a bridge between Home Assistant and your actual devices (i.e. commands goes Home Assistant -> Telldus Live out on the Internet -> back to your house and the TellStick -> to the device itself).

Back in the days, when I first started to use Telldus Live, they had issues with their Live service every now and then often resulting in a dark home, as my Home Assistant was unable to turn on any lights. Today, thankfully, Telldus seems to have a lot more stable platform (knock on wood). Regardless, I have been looking for a solution to bypass Telldus Live and let Home Assistant talk directly to the TellStick. I don’t want my setup to be dependent on either a 3rd party’s service, nor the Internet.

After a few hours of searching the web, I found the answer I was looking for in this post.

Configure Home Assistant to talk directly to your TellStick

The following procedure assumes that you have an already working configuration for Telldus Live and that you are using a Telldus TellStick Znet.

  1. Remove the tellduslive.conf file from your Home Assistant configuration folder (you can also remove any API keys stored in your secrets.yaml file).
  2. Remove the tellduslive: part in your configuration.yaml file.
  3. Open Home Assistant UI, go to Configuration, Integrations, Telldus Live and remove the integration (click on the trash bin icon in the top right corner).
  4. Restart Home Assistant.
  5. Back in the Home Assistant UI, you should have a notification about setting up a new device. Go ahead and configure it!
  6. Now, here’s the trick – select the TellStick’s local IP address in the configuration wizard and follow the instructions. Home Assistant will now configure itself to communicate directly with the TellStick without the need of Telldus Live!

Note! If you’re not receiving the notification, you may have disabled the discovery function within Home Assistant, or perhaps you have the TellStick located in a different network. Regardless, you have to enter the following in your configuration.yaml file and then restart Home Assistant:

tellduslive:
    host: <local IP address of the TellStick>

As you can probably tell, you must make sure the IP address of the TellStick never change, meaning you might want to reserve it in your DHCP server.

That’s it! Your Home Assistant now communicates directly with your TellStick device to control your 433 MHz and Z-Wave devices. Disconnect your Internet and have it a try. 😉

13 thoughts on “Bypass Telldus Live in Home Assistant”

  1. Thanks for the guide!

    I have one question. Will i loose my sensors by doing this? Do i have to add them again, if not. Do they change any ID?

    I would rather not have set everything up again.

    1. Nothing of your programming is lost. As long as you keep the device name in Telldus Live, Home Assistant will keep on working as normal.

      The important thing is that you delete the integration first prior to add it again. Then the device name will be preserved, otherwise Home Assistant will add “_2” to the device name.

  2. Hello,
    I have it working with the cloud API
    but when I follow the instructions on an other Home-assistance installation local API
    it fails on authentication with the error:
    TellStick ZNet
    You tried to log in as user@mailprovider.se but this TellStick ZNet is not activated.

    is there a step I miss?

    1. Hello!

      Hmm, not sure actually. I can’t recall I have made an activation or similar. I, just as you, had it working with the cloud API at first.

      If I understand you correctly, you have the cloud API configured on another HA installation, and not the one you are trying to configure the local API on. Perhaps you have to configure it using the cloud API first, and then change to the local API.

      Regards
      Lucas

  3. Is it possible to use any generic Z-Wave GateWay (stick) or will Telldus devices only work with the Telldus Stick ?

    1. Z-wave is a standard protocol meaning everything that talks Z-wave is or should be compatible with each other. I have a mixed environment of both Telldus and Aeotec devices all connected to an Aeotec Z-wave USB gateway (I’m not using my Telldus gateway anymore).

  4. Hej, hur fungerar det om jag har 3 st gateway? TellStick ZNet Lite v2, TellStick ZNet Lite och TellStick Net på olika ip men en fungerande gemensam styrning via telldus live?

    1. Ingen aning tyvärr. Jag har övergivit Telldus sedan länge då det finns betydligt bättre produkter på marknaden. Nu kör jag uteslutande ZigBee och Z-Wave, där jag styr Z-Wave direkt från Home Assistant med en Aeotec Z-Wave USB-sticka.

  5. This is a really nice upgrade bypass Telldus cloud and also get better performance. I have been running this way a few years after following this guide.

    At the moment I need to change ip for my Telldus, but I can´t figure out how to point Homeassistant to the new ip. I have tried to start from beginning, but the ip-option in configuration wizard doesn’t show up agian. So I wonder if there is a way to just change IP in somehow without braking something?

    Changing configuration.yaml doesn´t seem to help.

  6. Oj så bra om det fungerade!

    Någon “tellduslive.conf” hittar jag inte. Prövar ändå.

    När jag klickar på “Link Tellduslive account” får jag felmeddelande “! Invalid authentication”

    Taxam för alla tips.

    ———————————————————-
    Authenticate against TelldusLive
    To link your TelldusLive account:

    Click the link below
    Login to Telldus Live
    Authorise Home Assistant (click Yes).
    Come back here and click SUBMIT.
    Link TelldusLive account

    Invalid authentication

    ——————————————————————————————-

    404 Not Found
    The path ‘/tellduslive/authorize’ was not found.

    Traceback (most recent call last):
    File “/usr/lib/python2.7/site-packages/cherrypy/_cprequest.py”, line 670, in respond
    File “/usr/lib/python2.7/site-packages/cherrypy/lib/encoding.py”, line 217, in __call__
    File “/usr/lib/python2.7/site-packages/cherrypy/_cpdispatch.py”, line 61, in __call__
    File “/usr/lib/python2.7/site-packages/web/base/Server.py”, line 230, in __call__
    File “/usr/lib/python2.7/site-packages/web/base/Server.py”, line 202, in handle
    NotFound: (404, “The path ‘/tellduslive/authorize’ was not found.”)
    Powered by CherryPy 3.7.0

    1. Det var över fem år sedan jag skrev den här guiden. Mycket kan ha ändrats sedan dess. Jag har överigivt Telldus sedan länge, så tyvärr kan jag inte hjälpa dig. =(

Leave a Reply

Your email address will not be published. Required fields are marked *